How to install Kodi on Chromebook?
It doesn’t require rocket science to convert your Chromebook into a media center. By installing Kodi on your Chromebook, you stream your favorite media with ease. Most of the Chromebook devices have built-in Google Play Store app. It means you can install Kodi application with ease. However, you can also install Kodi even if you haven’t access to the Google Play Store. Here are the three methods that let you download Kodi on Chromebook.
Install Kodi on Chromebook using Google Play StoreInstall Kodi on Chromebook using Arc WelderInstall Kodi on Chromebook using Kodi Chrome extension
Install Kodi on Chromebook using Google Play Store
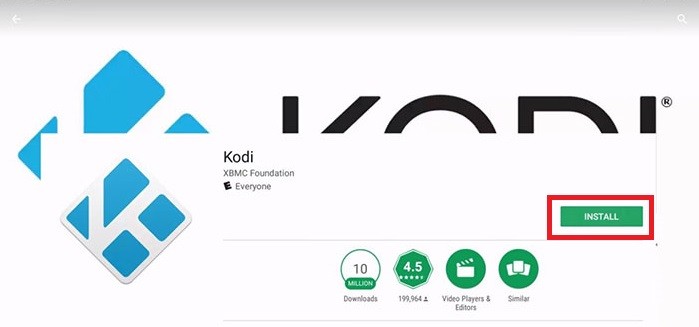
If your Chromebook supports Android applications, you will have access to the Google Play Store. #1: Launch Google Play Store. #2: Search for Kodi app on search bar. #3: From the search results, select the Kodi app developed by XBMC Foundation. #4: Click Install to download the app. #5: That’s it. Now you can use Kodi app on your Chromebook device.
Install Kodi on Chromebook using Arc Welder
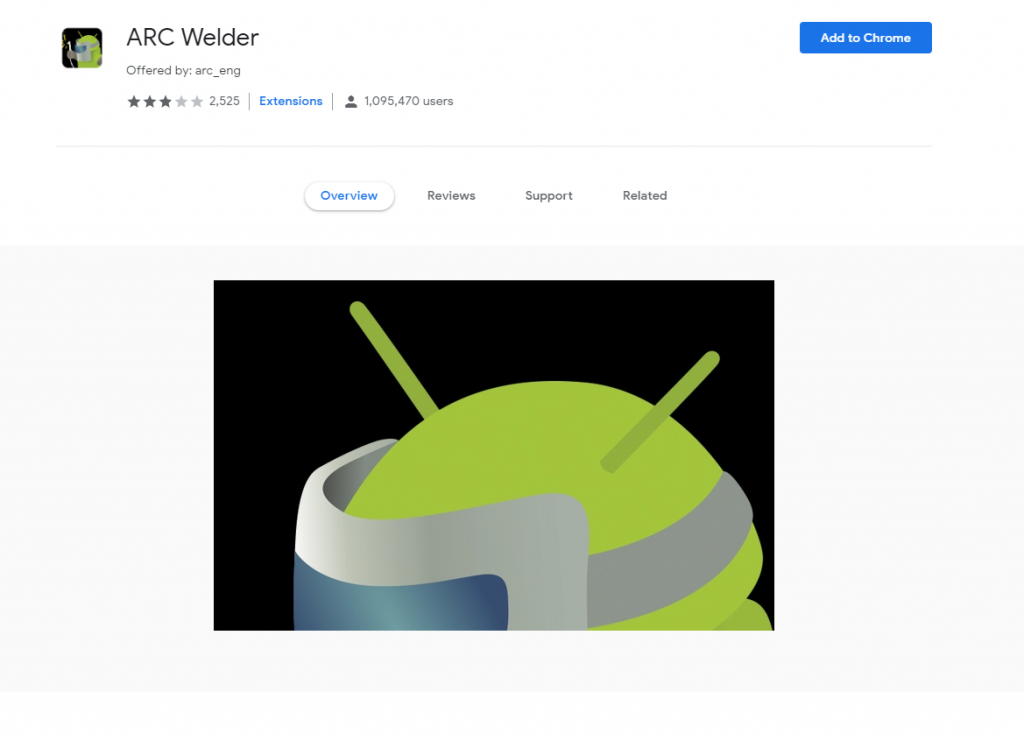
If your Chromebook doesn’t support Android Apps or Google Play Store, you can access Kodi with the help of Arc Welder. Here are the steps that you need to follow: (Note: Make sure that you have installed the latest version of Chrome browser) #1: First of all, you need to install Arc Welder on your Chromebook. Arc welder is a tool that helps the developer to work on the new application. Download Arc Welder from the Chrome Web Store. #2: On the other hand, download the latest version of Kodi Apk file from the third party websites like ApkMirror, ApkPure. #3: Open Arc Welder and select + Icon. #4: Select the downloaded Kodi Apk file and click the Open button located at the bottom of the screen. #5: Wait for few minutes and tap Test button. #6: Within a few seconds, the homepage of Kodi Media Player will appear on your screen.
Install Kodi on Chromebook using Kodi Chrome extension
It is another method which lets you run Kodi on non-Android Chromebooks. Here are the steps to add Kodi Extension on your Chromebook: #1: Open your Chrome browser. #2: Click the menu icon located on the top left corner of the browser. #3: Select More Tools -> Extensions. #4: On the top left corner of the browser, check whether developer mode is enabled or not. If not, enable it. #5: Now select “Load Unpacked” menu located on the top right corner of the screen. #6: Locate your downloaded folder and select Kodi Apk file that you have created with ARC. #7: Select Open at the bottom of the windows to create Kodi Extension on your Chromebook. #8: After the Kodi setup, you can use Kodi Media Player as a normal Chrome extension.
Install Kodi on Other Platforms
Other than Chromebook, Kodi is also available on other platforms. Here are the installation guide for:
Kodi on WindowsKodi on MacKodi on iOSKodi on AndroidKodi on FireStickKodi on RokuKodi on Apple TVKodi on Xbox OneKodi on Smart TV
Final Thoughts
These are the possible methods that let you download Kodi on Chromebook. After installing the Kodi, you can install Addons to access the media from various third party sources. You can use a VPN to avoid geo-restriction problems. Thank you for visiting Techfollows.com. For further queries and feedback on this installation guide, feel free to comment below.


