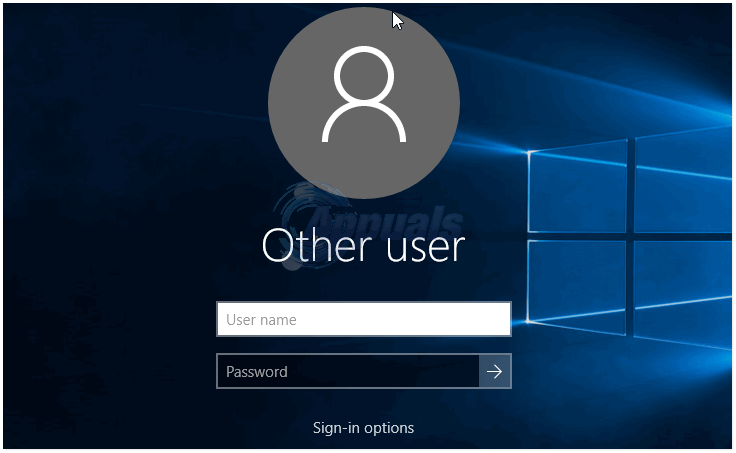
But the new version of Windows also came with a common problem for a lot of users – The login screen displayed both the username and the email address of the last user who logged on the system. In this post, we will be discussing ways to solve this problem on all variations of Windows 10 – Home, Pro and Enterprise edition. Note: After you implement the following changes, there will be no login displayed on the login screen, you will have to manually key in/enter your login information.
For Windows 10 Home version
Hiding user information in Windows 10 Home gets a bit tricky because you have to use the Registry editor for that. We need to mention here that working on a Registry editor can be confusing if this is your first time editing it. You should be extra careful and backup your registry. But, if you follow our exact steps, you should be easily able to get the task done. Hold the Windows Key and Press R. Type regedit and Click OK In the left-hand side pane, you will find a list of folders. All you have to do is follow the folders listed below in the same sequence In the final System folder, search for the key with the name dontdisplaylastusername and double click on it A new Edit DWORD window will open. In the ‘Value data’ field, set the value to 1 and click on OK Now, right click on the System folder, and select New -> DWORD (32- bit) Value. This will create a new system key in the folder. You can rename it to anything, for instance, DontDisplayLockedUserID Right click on this new system key, set the ‘Value Data’ to 3 and click on OK Close the Registry Editor and restart your system. You will notice that the username and email address are no longer visible. If you want to redo the settings, so it can show the info on the login screen then you will need to change the value for DontDisplayLockedUserID and DontDisplayLastUsername to 0
Windows 10 Pro and Enterprise version
If you are using Windows 10 Pro or Enterprise edition, then instead of using Registry Editor, you would have to use Local Group Policy Editor. Hold the Windows Key and Press R. Type gpedit.msc and Click OK. On the left-hand side pane, you will find several folders listed. Just follow the path given below Computer Configuration – > Windows Settings – > Security Settings – > Local Policies – > Security Options Under the Security Options folder, double click on the ‘Interactive Logon: Display user information when the session is locked’ policy. In the new Window that opens, select ‘Do not display user information’ and click on OK In the same list, double click on ‘Interactive logon: Do not display last user name’. Select Enable and Click on OK. Restart your computer and your problem should be fixed
We hope you were able to solve the user login issue on your Windows 10. Do let us know in the comments!
How to Hide the On-Screen Buttons on AndroidHow to Prevent Apps from Getting Account Information on Windows 10?How to Customize OEM Support Information in Windows 10?How to Customize Support Contact Information in Windows Security?
