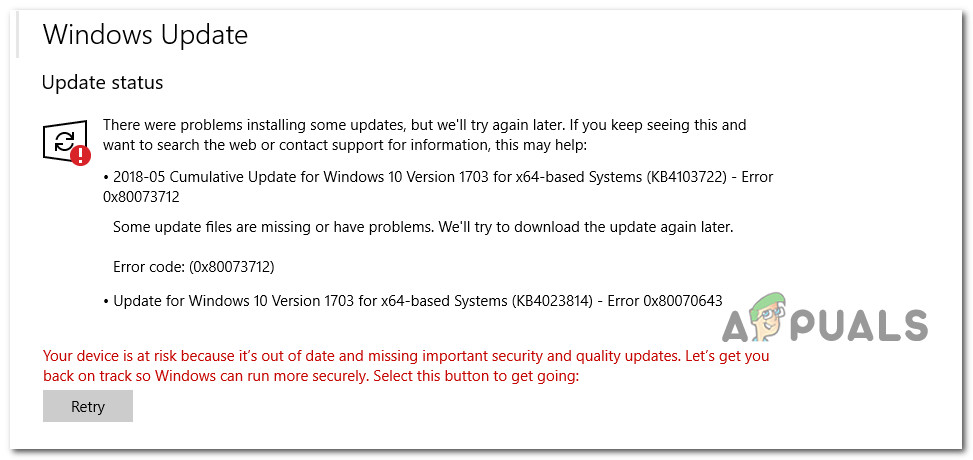
After investigating this particular issue thoroughly, it turns out that there are several different underlying causes that might be responsible for this issue. Here’s a list of possible culprits that might be responsible for the apparition of the 0x80073712 when installing a cumulative or security update on Windows 10 or Windows 11: Now that you are familiar with every potential root cause with the potential of triggering this issue, let’s go over a series of fixes that other users that found themselves in a similar situation have successfully used to get around the 0x80073712 error:
Run the Windows Update Troubleshooter
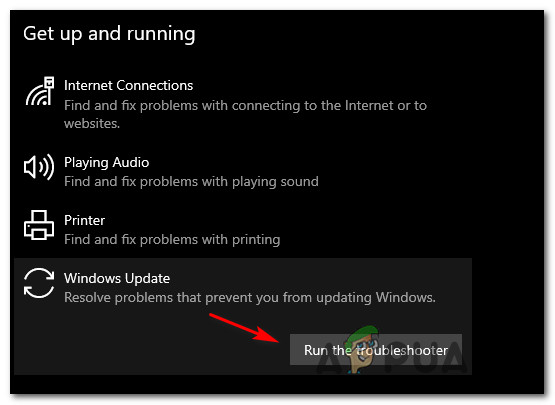
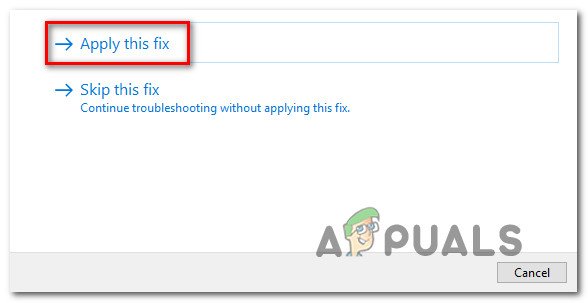
Given that the issue is quite old, Microsoft had the time to develop a series of automated repair strategies that should be able to resolve (for the most part) the majority of issues that might cause the 0x80073712 error. To take advantage of these automated fixes, you will need to run the Windows Update Troubleshooter (from the Settings menu) and apply the recommended fix. This is not guaranteed to work, but it’s a good way to start troubleshooting this issue and see if you can fix the issue in the easiest manner possible. Follow the instructions below to run the Windows Update troubleshooter on Windows 8.1, Windows 10 or Windows 11 and apply the recommended fix: If you’re still dealing with the same kind of issue even after running the Windows Update troubleshooter, try the next fix below.
Delete Temporary Windows Update files
If the first method was not effective in your case as running the WU Troubleshooter did nothing, the next thing you should do is make sure that no temporary files are actually causing this behavior. Some Windows 10 users that we’re also facing this issue have confirmed that the issue was entirely resolved after they successfully reset every Windows Update component. This operation will effectively disable every service involved in the process of identifying and installing new updates before clearing the directories that are used to store temporary files related to Windows Updates. Follow the instructions below for a step-by-step guide on resetting every Windows Update component and clearing the temporary files that might be responsible for causing the 0x80073712 error: In case your attempt at installing the security or cumulative update results in the same 0x80073712, move down to the next potential fix below.
Deploy SFC and DISM Scan
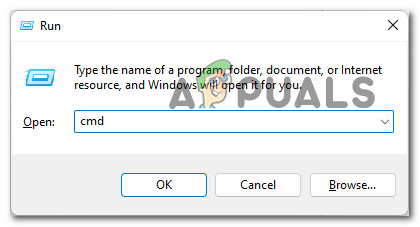
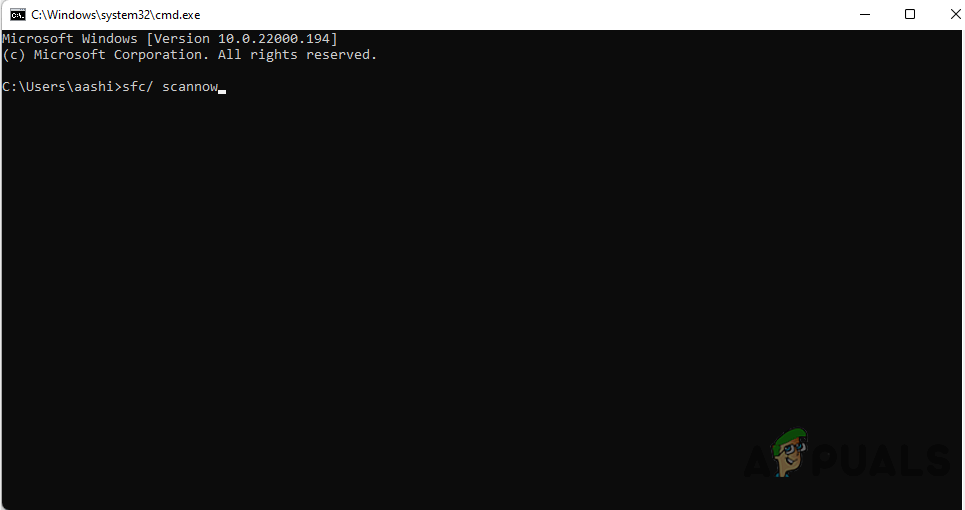
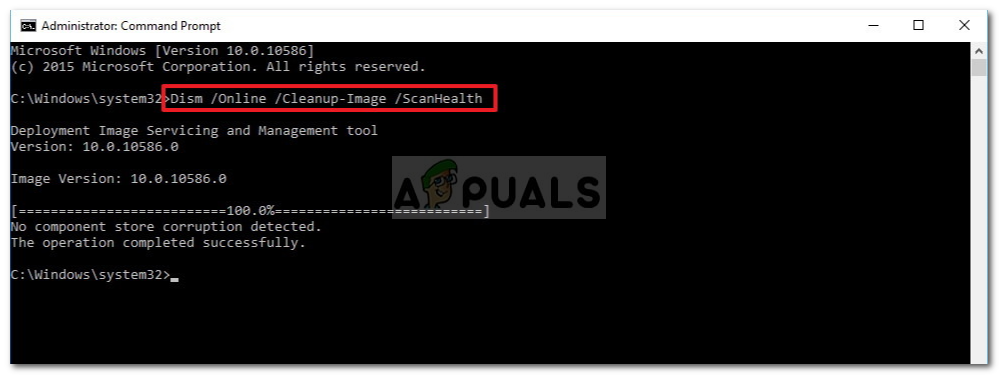
Superficial system file corruption can also be responsible for this particular issue, especially if you’ve only started to encounter this issue after an unexpected system startup or after your AV suite ended up quarantining some files. In a scenario like this, you should take the time and run a series of scans with two built-in utilities that you’ll find on every recent Windows version – System File Checker (SFC) and Deployment Image Servicing and Management (DISM). Both of these utilities are capable of replacing corrupted system files with healthy equivalents, but they do it differently enough to justify running them both in quick succession. You should start with a simple SFC scan operation, but make sure you do it from an elevated command prompt. Note: This utility will replace any corrupted system file it finds with a healthy equivalent retrieved from a locally cached archive. Once the SFC scan is complete, reboot your PC and wait for it to boot back up before initiating a DISM scan. Note: Keep in mind that DISM ‘borrows’ a sub-component of Windows Update to download healthy equivalents for the corrupted system files that need to be replaced. Because of this, you need to ensure that you have a stable connection to the internet before deploying a DISM scan. Once both SFC and DISM scans are complete, do one final restart before attempting to install the failing update once again. If the new attempt to install the problematic Windows Update fails with the same 0x80073712 error, move down to the next method below.
Install the failing update manually
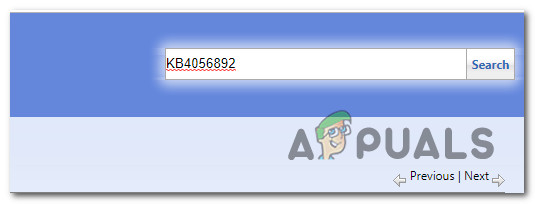
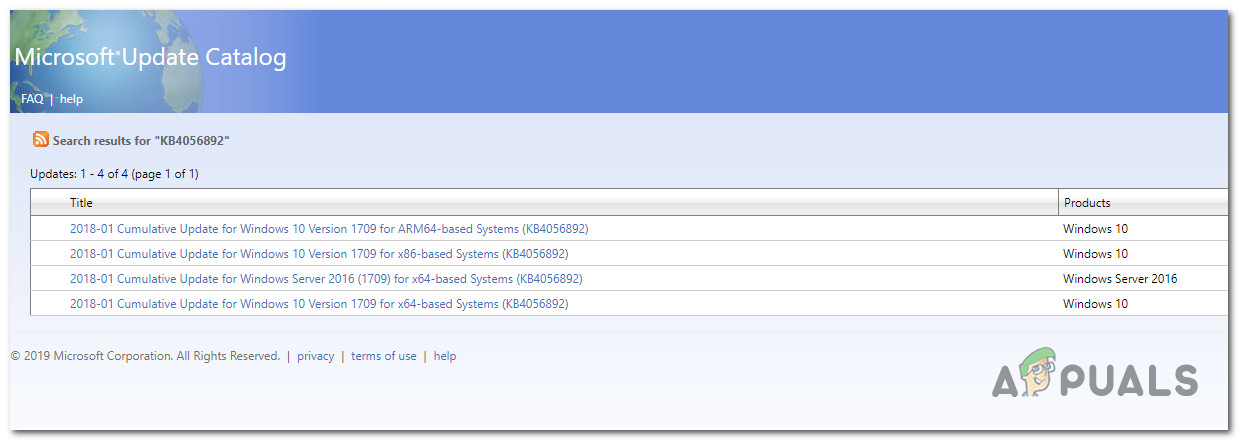
In case none of the methods featured in this article worked for you and you’re trying to avoid doing a clean install or repair install procedure, you can try circumventing the local Windows Update component entirely by manually installing the failing updates. This can be achieved by using the Microsoft-maintained Microsoft Update Catalog. Note: This will not work for you if the Windows installer component is also busted, but should work in those situations where only the Windows Update services and processes are affected by system file corruption. If you want to give this method a go, follow the instructions below to learn how to ‘sideload’ a pending Windows update (cumulative or security) that is failing with the 0x80073712 error. Here’s what you need to do: In case the same kind of error code is popping up when you try to install a security or cumulative Windows update, move down to the next potential fix below.
Refresh every Windows Component
If none of the methods above have proven to be effective in your case, it’s almost certain that you’re dealing with some kind of system corruption that cannot be resolved conventionally. In case you find yourself in this particular scenario, the only viable fix at this point is to deploy a procedure that will replace every potentially corrupted system file with a healthy equivalent. You can either do this selectively by repair installing (in-place repairing) or you can erase everything and start from scratch by going for a clean install procedure. Note: Keep in mind that a repair installing procedure will only touch your OS files while leaving everything else intact. This is the ideal procedure if you want to get this issue resolved without losing any sensitive data that’s currently being stored on the same drive as your OS.
How to Fix Error 0x80073712 on Lumia 950How to Fix “Error Code: 0xca020007” While Updating Windows?Fix Microsoft Office ‘Error Code 30088-26’ when Updating OfficeHow to Fix “Error: 0x80244018” When Updating Windows?
