“Something went wrong. Try restarting your device. If you need it, here’s the error code: 0xA00F4292
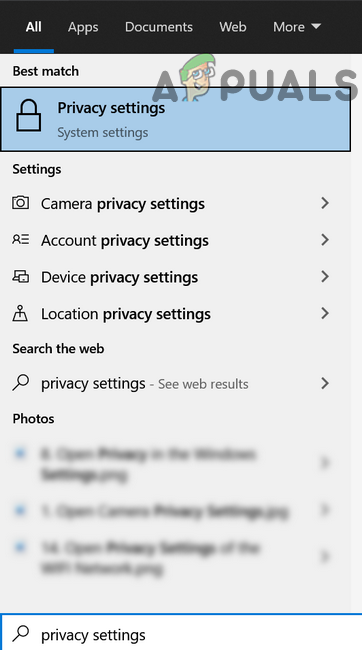
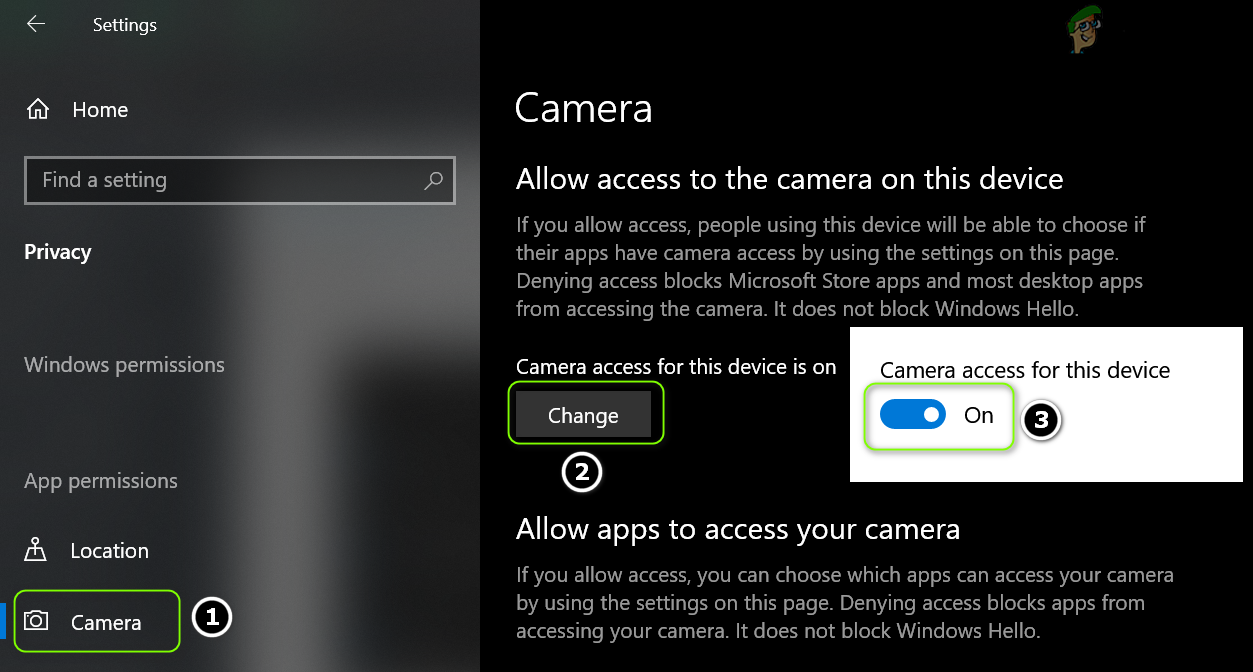
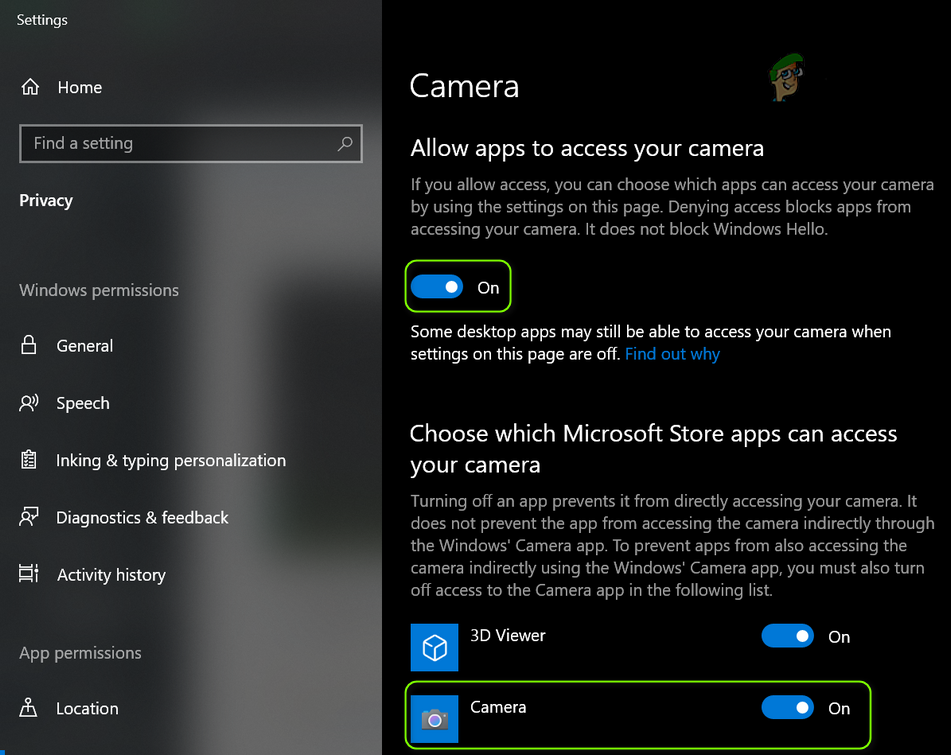
Solution 1: Edit the Privacy Settings of Your System
The Camera app may show the error under discussion if the camera access is blocked in the privacy settings of your system. In this context, allowing the Camera access in the privacy settings may solve the problem.
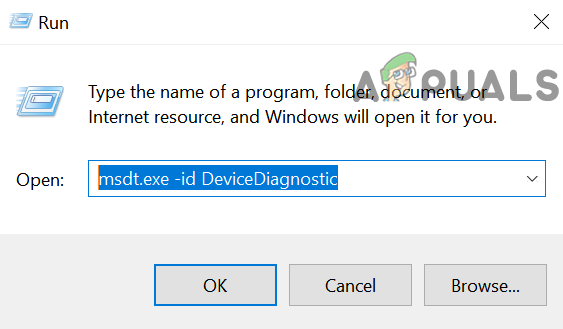
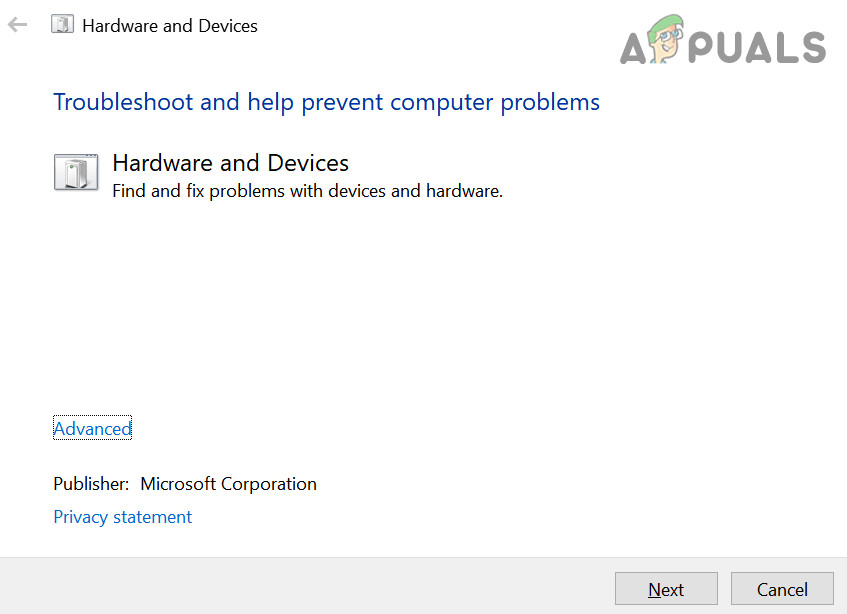
Solution 2: Run the Hardware and Devices Troubleshooter
The 0xA00F4292 issue may be caused by a glitch in modules operating the system’s hardware/devices. In this case, running the “Hardware and Devices Troubleshooter” may clear the glitch and thus solve the problem. If the issue persists, check if disabling/enabling HDR in the Camera settings (click on the gear icon to open Settings) resolves the photo capture issue.
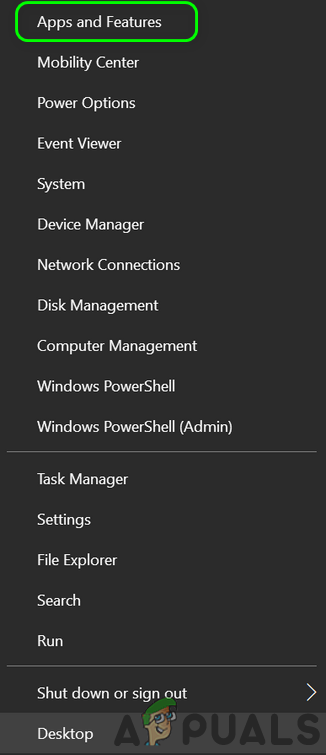
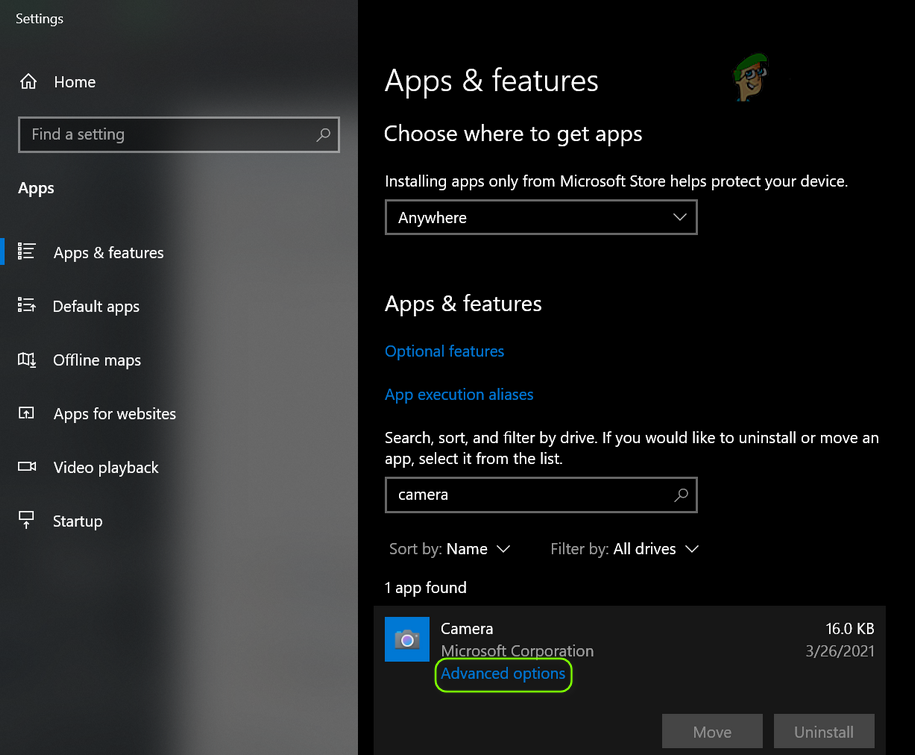
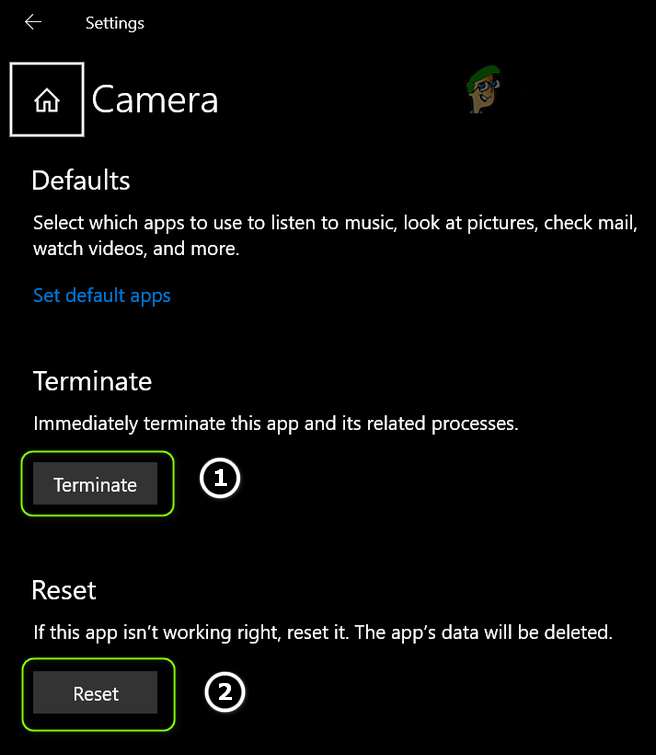
Solution 3: Reset the Camera App to the Defaults
The Camera app may show the 0xA00F4292 issue if the installation of the camera app is corrupt. In this context, resetting the Camera app to the defaults may solve the problem.
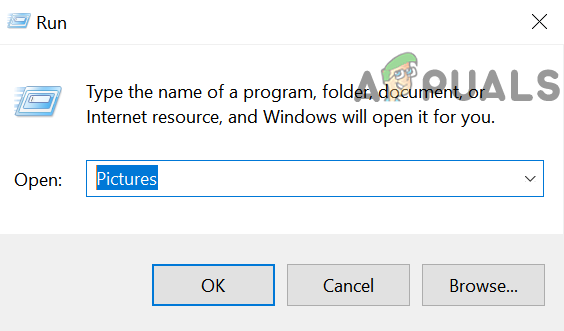
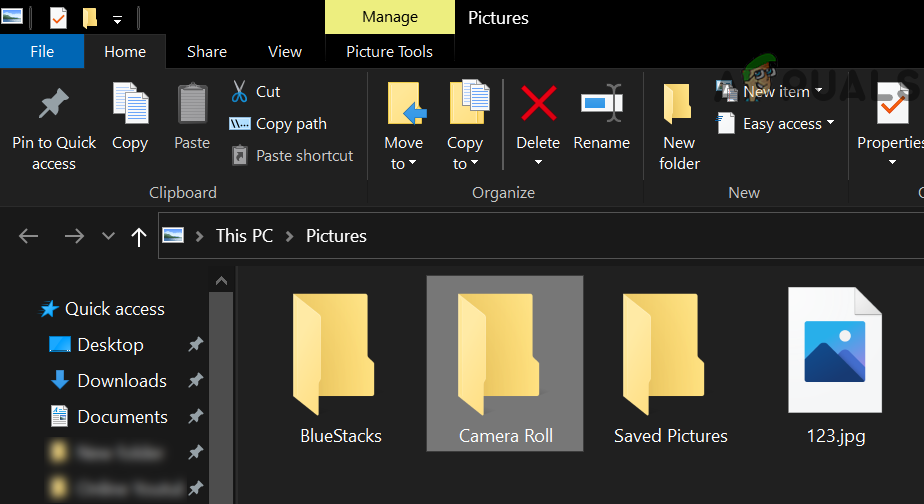
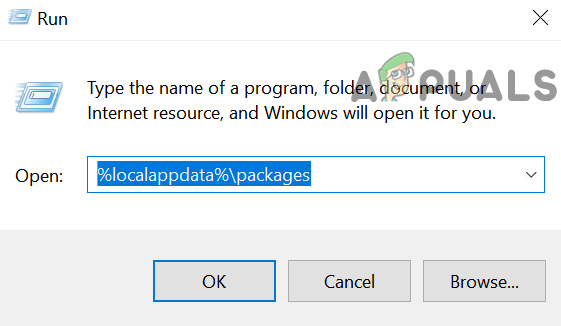
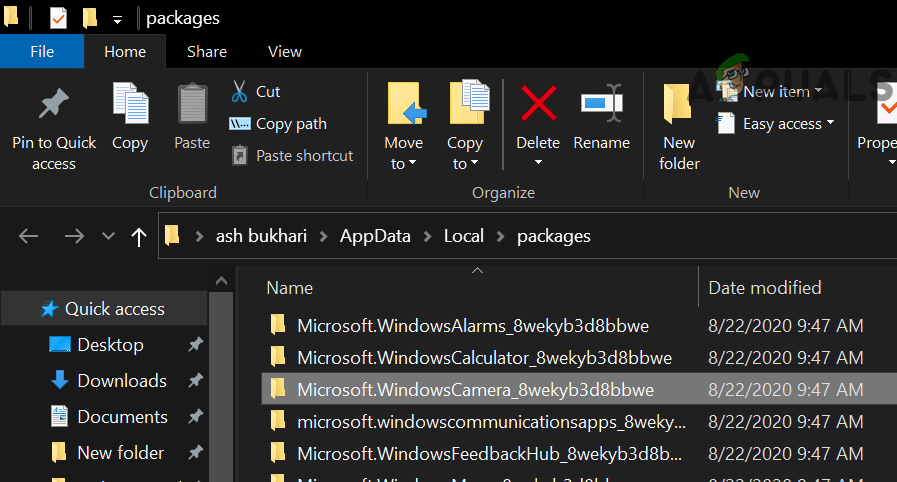
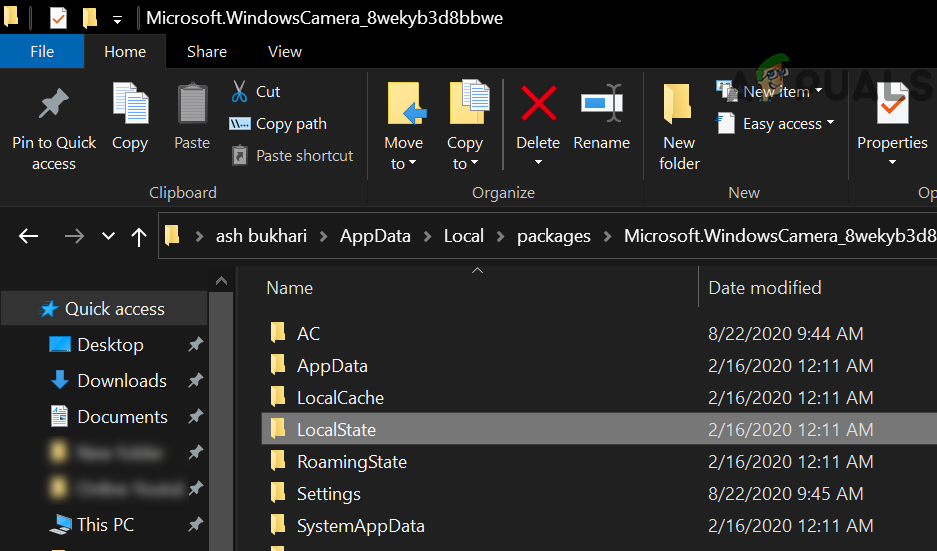
Solution 4: Delete the Camera Roll Folder and Camera’s Local State Folder’s Contents
The camera app may show the capture start time out issue if the local data of the Camera app is corrupt. In this case, deleting the Camera app’s local data may solve the problem.
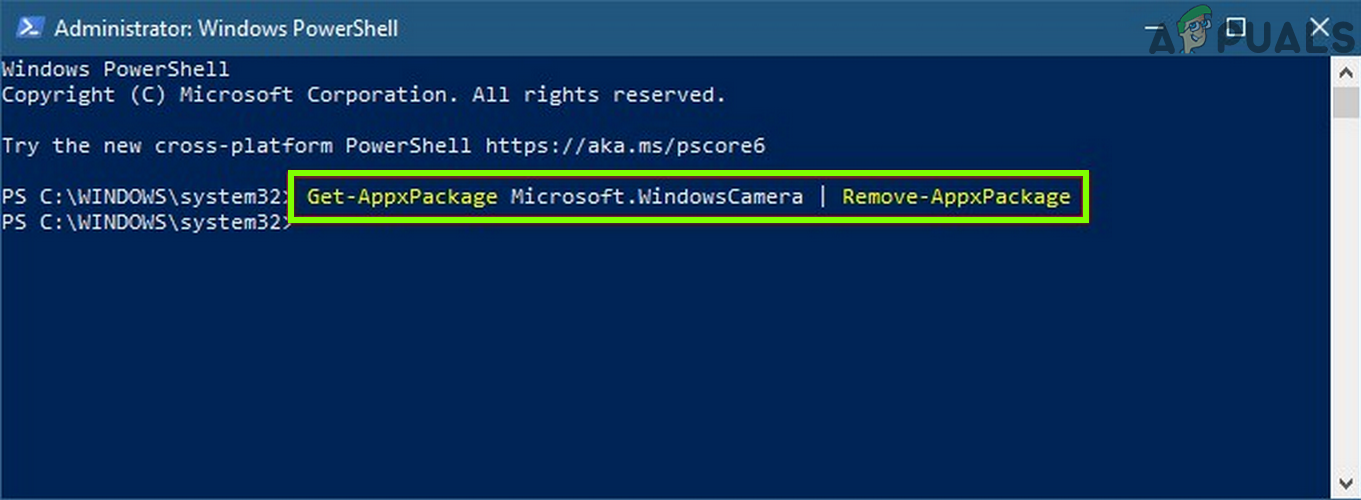
Solution 5: Reinstall the Camera App
The corrupt installation of the Camera app (that can’t be repaired by resetting the app) can be the root cause of the photo capture issue. In this scenario, reinstalling the Camera app may solve the problem. Proceed at your own risk if the Camera app fails to reinstall, then you may have to reinstall the Windows, so, creating a restore point will be a good option.
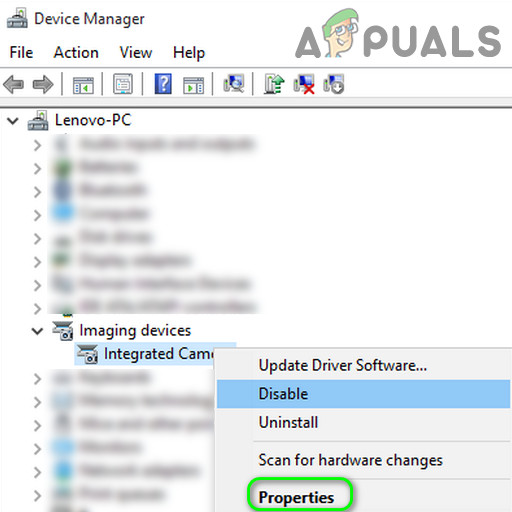
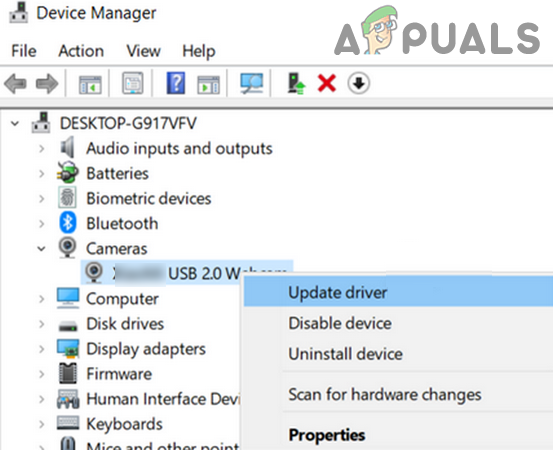
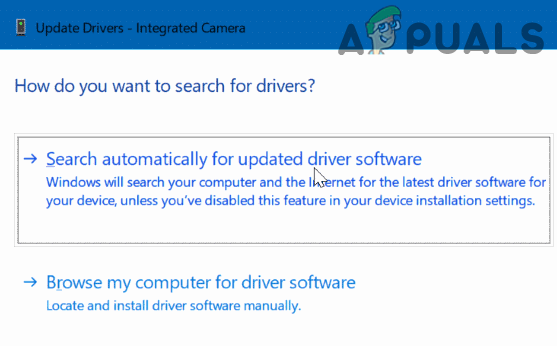
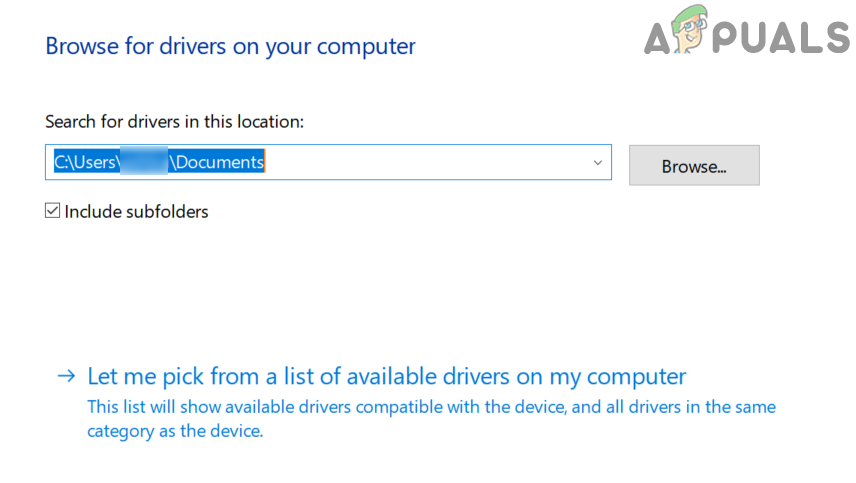
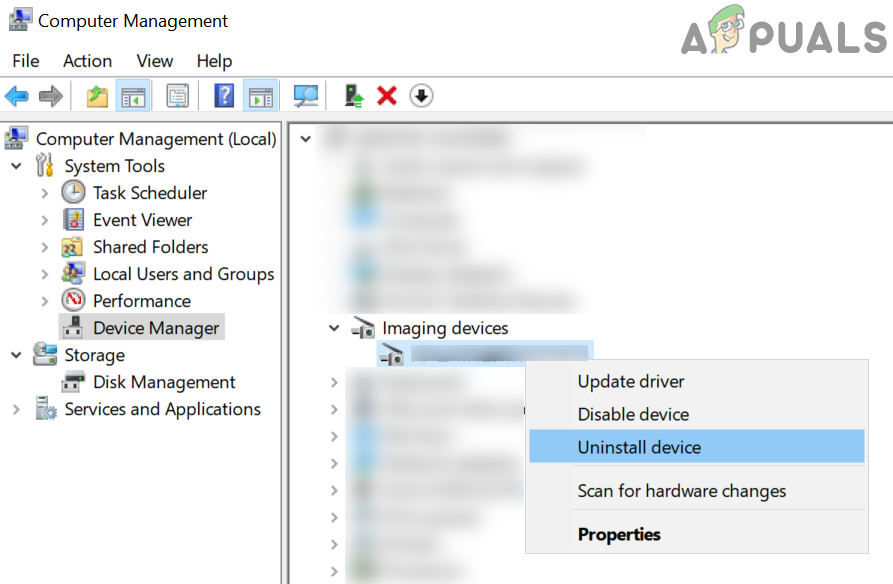
Solution 6: Rollback/Update/Reinstall the Camera Driver
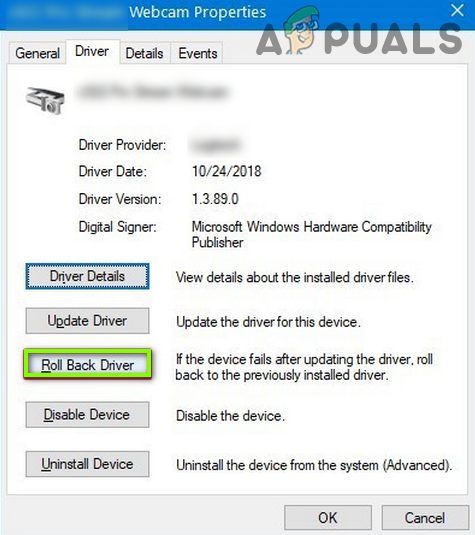
The capture issue may arise if the Camera driver of your system is incompatible, outdated, or corrupt. In this scenario, rolling back (if the issue occurred after an update), updating, or reinstalling the Camera driver may solve the problem.
Rollback the Camera Driver
Update the Camera Driver
If that did not do the trick, check if installing an older driver from the OEM website resolves the photo capture issue.
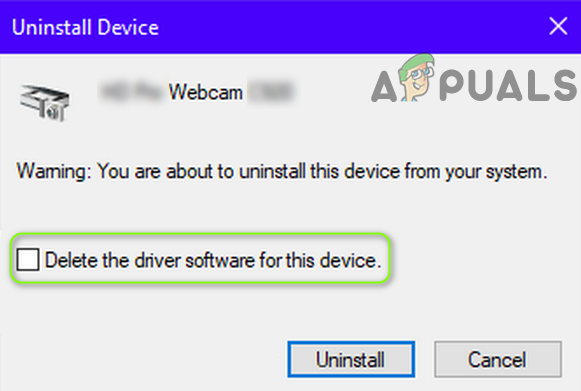
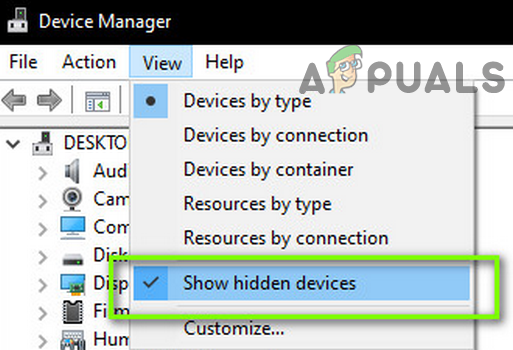
Reinstall the Camera Driver
If that did not do the trick, check if reinstalling the Display/Graphics driver (a solution reported by some users) resolves the Camera issue. You can also check if installing an OEM camera utility (like Dell Webcam Central) resolves the
Solution 7: Create a New User Account
The Camera app may show the capture start time out issue if the Windows user profile is corrupt. In this case, creating a new user profile on the PC and using the Camera through that account may solve the problem.
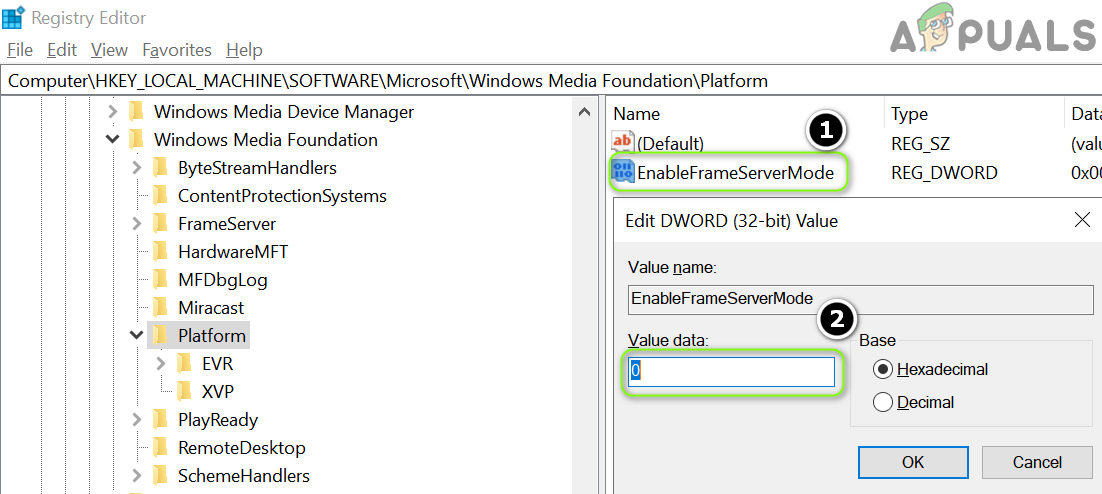
Solution 8: Edit the System’s Registry
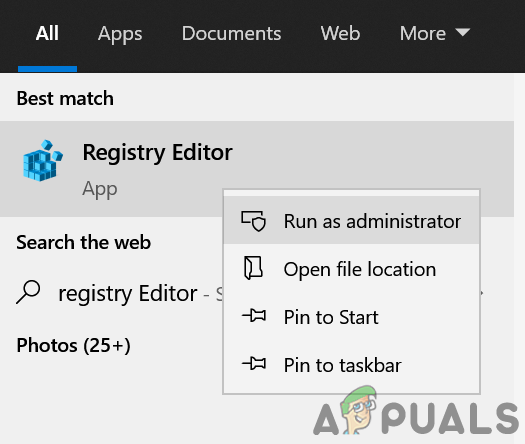
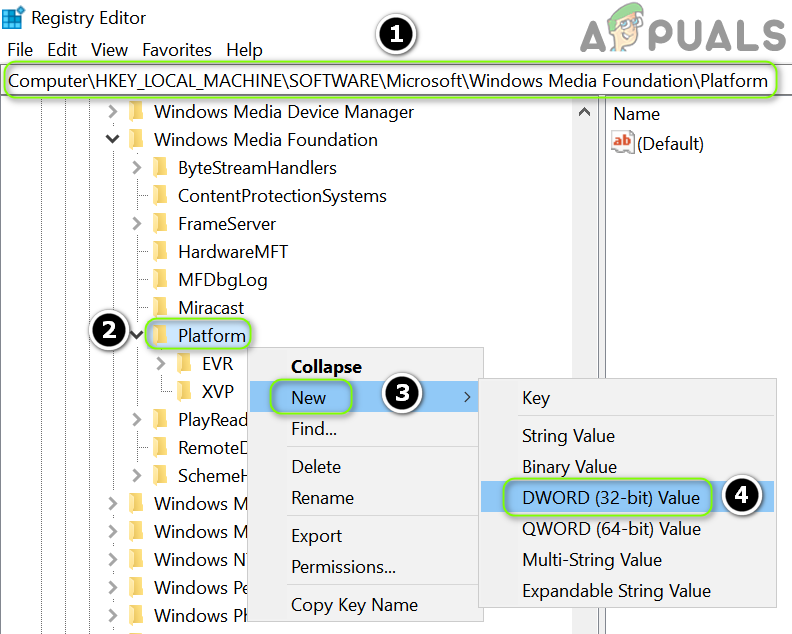
If none of the solutions did the trick for you, then you may edit the system’s registry to solve the Camera issue. Warning: Advance with the utmost caution and at your own risk, as editing the system’ registry is a skillful/proficient task and if not done properly, the system/data may be harmed/compromised. If the issue persists, then check if performing a system restore sorts out the Camera problem. If that is not an option, then you may try an in-place upgrade or Reset the PC to the factory defaults (use the Keep Files and Apps option). If that did not do the trick, then get your system checked for a hardware issue.
How to Make a Passport Size Photo Using IDPhoto4YouSkype Brings A New Photo & Video Preview Panel, Message Drafts To Boost Your…The 5 Best Photo Organizing Software for Windows 10How to Use Windows Live Photo Gallery on Windows 10?

