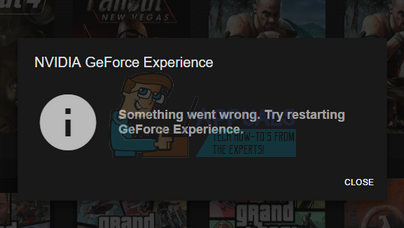
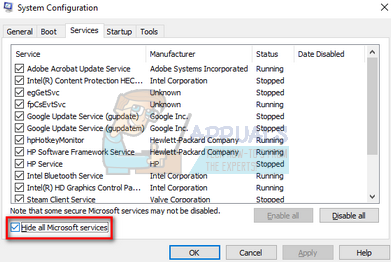
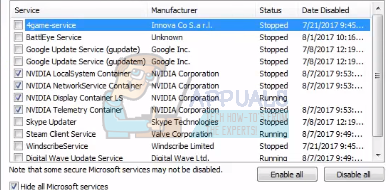
This error usually occurs when the user configuration of the NVIDIA application isn’t configured properly or is corrupted. Another troubleshooting result showed that failure to start some NVIDIA services was also the culprit to this problem. The errors range due to a variety of reasons as each computer has its own computer configuration. We have listed down all the available workarounds for this issue. Start from the top and work your way down. Note: Before starting all the solutions, end-all Nvidia related processes from the task manager and try launching the application again. If it doesn’t, you can start troubleshooting from the solutions listed below.
Solution 1: Changing Compatibility of GeForce Experience
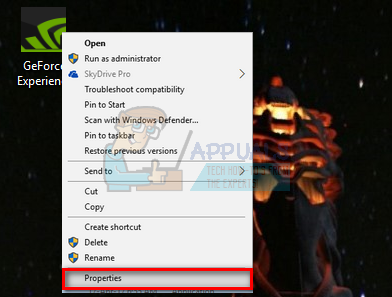
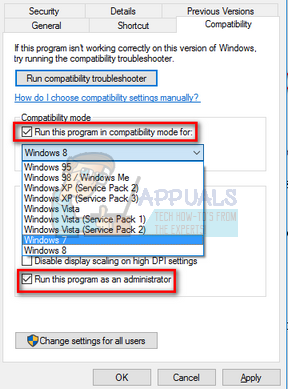
If you recently installed GeForce Experience on your computer, it is possible that the program is not compatible with your computer. Compatibility means that it is not suited to run on your computer hence the error message. We can try changing the compatibility settings of the GeForce application and see if this makes any difference. If this doesn’t work you, make sure to revert the settings back before you proceed with the other solutions.
Solution 2: Reinstalling the Visual C++ Redistributable Packages
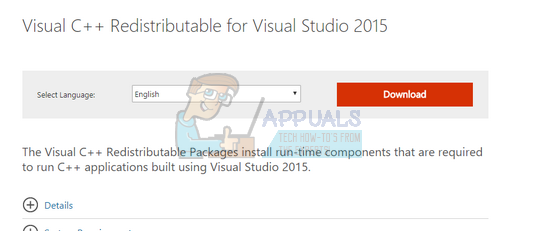
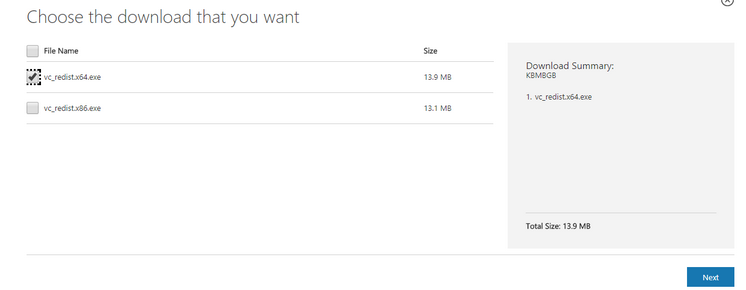
It is possible that there are some important system files missing from your computer. Without these files, GeForce Experience might be having trouble running. In order to replace the missing files, we can download the whole redistributable package and install it. Do note that you should always avoid downloading .dll files from the internet from non-official websites. They may be infected with malware and virus and can infect your computer easily. Note: You should make sure that also all the latest Windows Updates are installed on your computer. Sometimes it is the case that a particular bug or error is fixed in different patches. Make sure that everything is updated beforehand before moving on to more technical solutions listed below.
Note: If you are using 64 bit Windows, you can install both (vredist_x64.exe and vredist_x86.exe). However, if you have 32 bit, you should only install “vredist_x86.exe”. You can check which version of Windows you have by press Windows + S, type “system information” and open the application which comes forth.
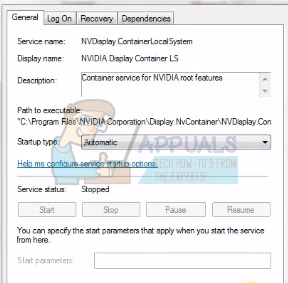
Solution 3: Changing ‘NVIDIA Display Container LS’ Settings
Nvidia display container LS is a service responsible for containing all Nvidia root features. Root features include all the essential features required to run all the applications and services properly without any problems. Many users reported that it was due to this service not stating that they couldn’t launch the GeForce Experience. By default, the startup type for this application is disabled. We will change the service settings and check if this solves the problem for us.
Solution 4: Changing User Folder Name
Another workaround that worked for a lot of people was changing the name of the user folder present on your computer. We need to ensure that the user folder has a specific name so Nvidia services can easily access them without any hindrance. You should navigate to the file path ‘C:\Users[User_Folder]’ and check if the name is correct. If the name is not as expected, rename it correctly i.e. name it “GF Experience”. Make sure that the name doesn’t contain any numeric characters. After renaming it, restart all Nvidia based services and check if the application works as expected. If it doesn’t, reboot your computer and check again.
Solution 5: Reinstalling the GeForce Application
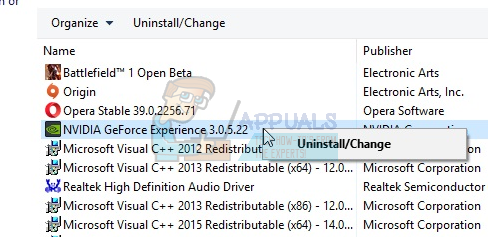
Another quick fix that worked for many users was uninstalling the GeForce application before reinstalling a fresh version downloaded from the official website. The GeForce application might not be up-to-date or the application might have configuration issues with your system. Note: If the latest version of GeForce doesn’t work on your computer, try downloading a previous version. Many users reported that the latest version has compatibility issues and doesn’t work on some computers in any case. Try downloading a previous one from a trustworthy website and check if this solves the problem.
Solution 5: Updating Graphics Driver
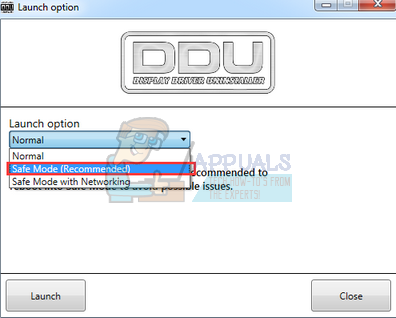
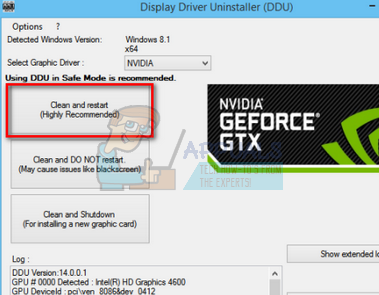
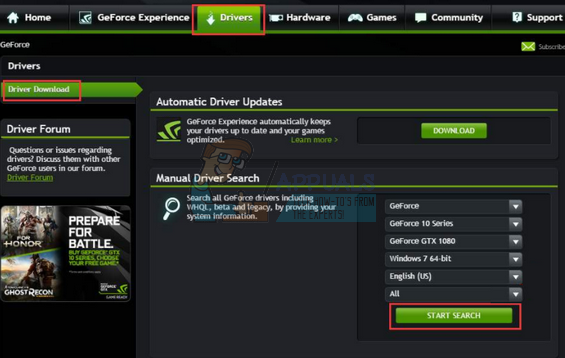
If all the above solutions don’t work, we can try updating the graphics driver. It may be possible that your graphics driver is not properly configured or is outdated. We need to completely delete all driver files before we install the new driver, therefore, we need to use the utility Display Driver Uninstaller. You can download the utility over the internet easily.
Note: Often there are some applications that might be interfering with the application. Make sure that there are no such applications running on your computer. Also, try logging into an administrator account and check if the games get optimized successfully there.
[FIXED] ‘Something went Wrong. Try to reopen Settings later’ in Windows 10…Chromecast Error “Something went wrong”? Try these fixesHow to Fix Windows Store Install Error 0x80070015 “Something went wrong"Fix: Something Went Wrong and your Search Couldn’t be Completed
